
Equipment
-
Stand mixer with a dough hook
Ingredients
- 16 ounces warm water (110ºF) divided into two bowls 2 cups
- 1 Tablespoon granulated sugar
- 7 grams active dry yeast (2 ½ teaspoons)
- 2 ounces olive oil ¼ cup
- 1 teaspoon salt
- 1 Tablespoon flakey salt
- 24 ounces bread flour or all-purpose flour (5 cups spooned and leveled)
- 4 ounces olive oil for the pan and for drizzling on top of the focaccia after rising (½ cup)
- 2 Tablespoons fresh rosemary chopped
- Vegetables, herbs and meats for topping
Instructions
- Combine your first cup of warm water with your yeast and sugar and mix to combine. Set it aside for about 5 minutes or until it looks foamy.
- Place the water/yeast mixture in the bowl of your stand mixer with the bread hook attached. You can also make this dough by hand with a bowl and spoon but you’ll have to use some elbow grease.
- Add in about 1 cup of flour and mix on low until combined.
- Add in the rest of your water, the olive oil and the salt and half of your remaining flour. Mix on low until combined
- Continue adding in your flour while mixing on low until the dough pulls away from the sides of the bowl. If it’s still too sticky, add in a couple more Tablespoons of flour until it comes together. The dough will be very soft though
- Keep mixing on low until your dough develops enough gluten that when you touch it, it bounces back. I took my dough out of the bowl and finished kneading it on the countertop for about 2 minutes until the dough bounced back.
- Place your dough into a bowl with about a Tablespoon of olive oil. Cover with plastic wrap and let rise in a warm place for 1-2 hours or until it has doubled in size. If you’re using active dry yeast, it will take longer to proof to double. Keep an eye on it.
- Pour enough olive oil into a 12″x17″ sheet pan (or any pan of similar size) so there is a thin layer of oil covering the entire bottom of the pan
- Put some olive oil on your hands to prevent sticking and then pull the focaccia dough out of the bowl. It will be very loose. Divide into two if you deisre. Lay it in the pan and begin stretching it. If it shrinks back, walk away for about 15 minutes to let the gluten relax before you stretch again. Don’t worry about getting it to the edges if you divided it in half.
- Once you’re done stretching, cover it with plastic wrap and place it into the fridge overnight to develop flavor.
- When you’re ready to bake your bread, take it out of the fridge and let it warm up for about 30 minutes. Dimple the surface with your oiled fingers to create some areas where the olive oil can collect.
- Drizzle a good amount olive oil onto the top of the bread until all the dimples have a little oil in them. Sprinkle flakey salt on top.
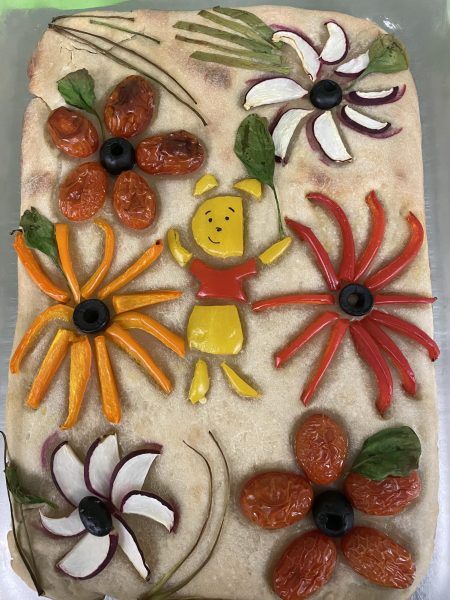
- After your focaccia has risen for 30 minutes, decorate the top any way you like with veggies, herbs and meats. See the blog post above for more ideas.
- Brush all your veggies and herbs with more olive oil to prevent burning.
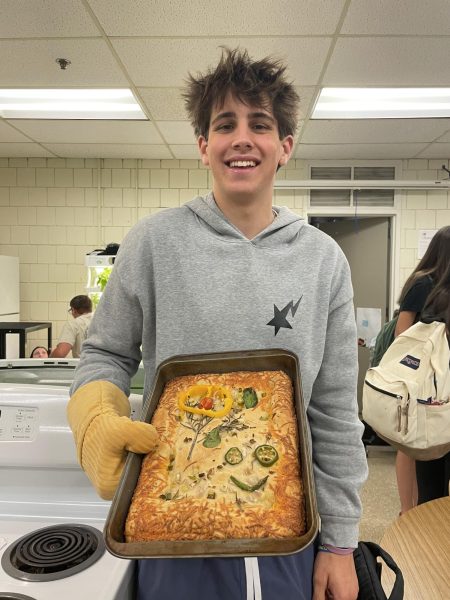
- Bake in the oven at 450ºF for 20-25 minutes or until the focaccia bread is nice and golden.
- Because of the toppings, this bread is best enjoyed the day of. Refrigerate leftovers. Re-heating the bread in the oven for 5-10 minutes at 350ºF will bring back that chewy texture.